Sweet job Rodot!!!!!!!!!!!!!!!!!!!!!!!!!!!!!!!!!!!!
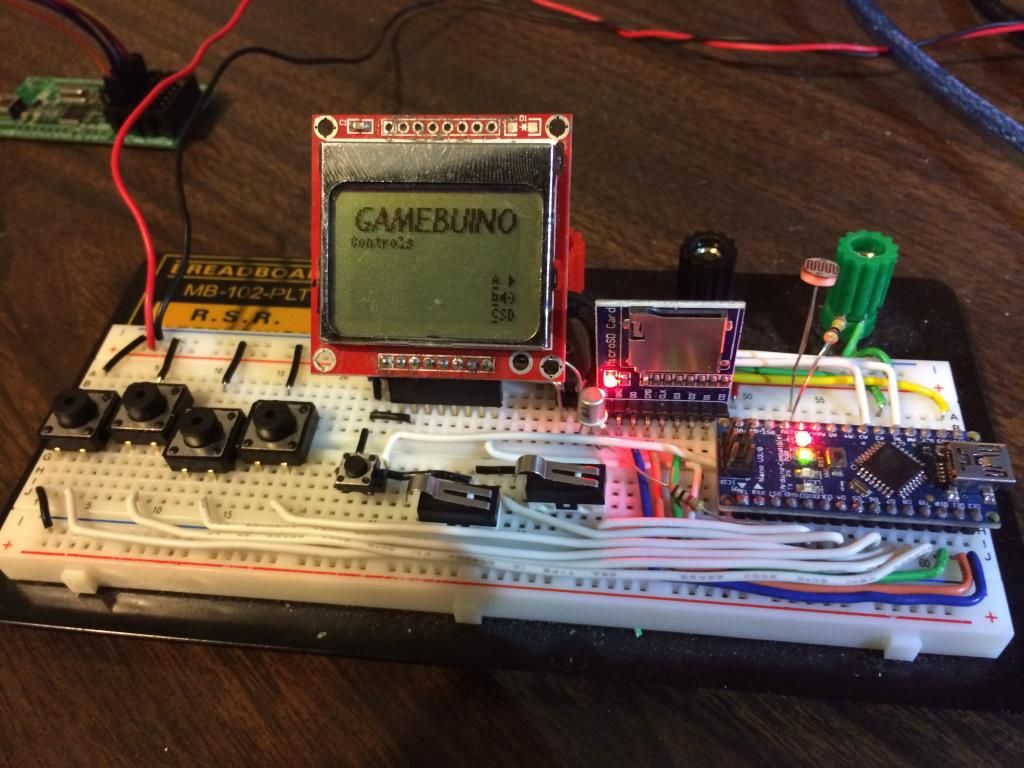
So I just wired it up like the schematics and boom! I'm playing games!!!
Here's my steps:
Mapped Arduino Nano to Atmega pins in schematic
Mapped " ISP to Jytech USBasp programmer I had
Wire up SD card - used R1=22 and R2=47 ohm V-divider from 5V input (3.4V), Photoresistor, Speaker (from old phone)- also used 2N222a bjt (didn't have a hi-freq one - seems to work fine), buttons, LCD, Pot (behind LCD)
Followed instructions from wiki for bootloader
Followed instruction from Arduino website for burning from Arduino IDE - Not sure if I did this right - still haven't loaded a game from SD yet!
Loaded a sketch (basic) and moved curser around to map buttons to Nano correctly - I left a little extra wire on each for this
Played a little Crabator!
P.s. I created image and text files of the mappings but know that I read somewhere on here that Rodot doesn't want to upload his schematics yet, so unless I get his blessing I will hold off for now!
